

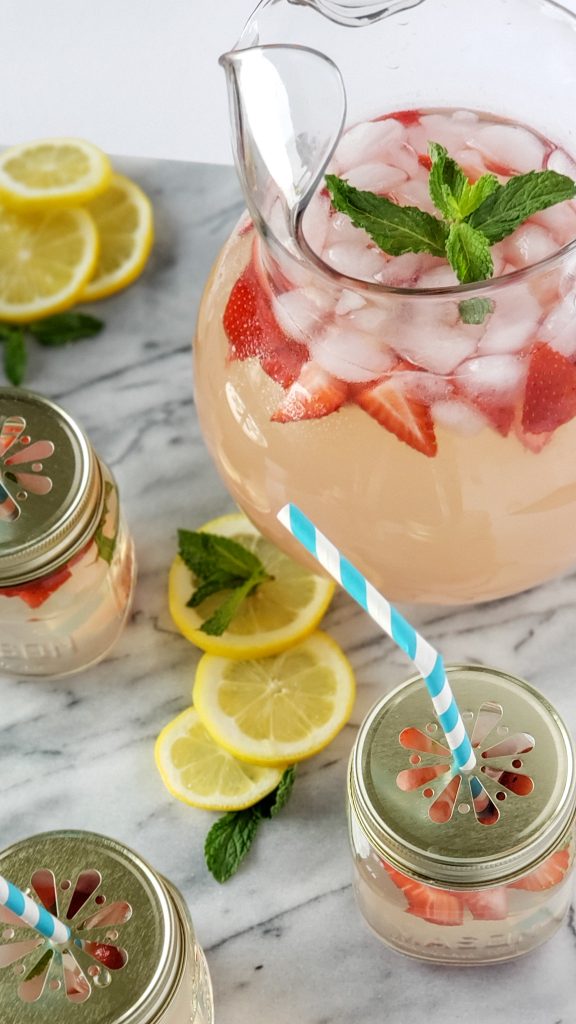
This is the best homemade strawberry lemonade that you will ever taste.
Sophia Araujo- Age 6
Get ready for delicious lemonade on hot days!
Mariana Araujo- Age 5
Kid and hubby tested and approved, this strawberry version is a fun twist on this delicious classic homemade lemonade recipe.
Simple and easy, this is sure to be a crowd pleaser whether you pair it with these yummy Brazilian cheese bread for an after-school snack, or are looking for a delicious drink full of flavor to enjoy during the various activities that summer brings!
Make sure to subscribe to tidymo.com to get more yummy recipes delivered straight to your inbox!
As a blogger, I may earn a small commission for any purchases made through the affiliate links on this site. I want to make it clear that your support means a lot to me and helps keep this blog running. Please note that using these links will not add any extra cost to your purchase. I have included them for your convenience, and I appreciate your support in using them.
What you need:
- Drink pitcher– These pitchers are amazing because not only are they big, but they are perfect for storing your drinks in the fridge and keeping it tasting/smelling fresh 🙂
- Mini-prep food processor
- Large Saucepan
- Large spoon
- Metal re-usable straws- these are my favorite! Not only do they save an enormous amount of plastic waste, but they come in a variety of sizes, styles, colors, and thicknesses. Perfect for your drink on the go or sipping on drinks at home! The best are these thicker diameter straws that fit into a kid’s spillproof cup and make it easy to drink smoothies. I don’t know about you, but my kids love having these amazing Brazilian acai smoothies for breakfast every day and these are the first re-usable straw I’ve found that is smoothie friendly!
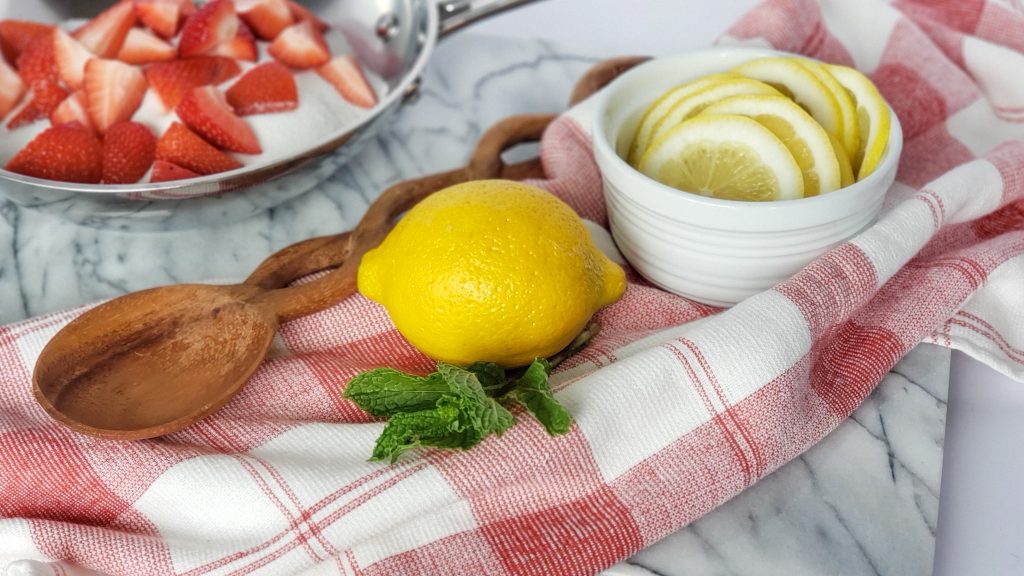
- 2 cups of Lemon juice
- 2 Lemons
- 1. 5 Cups of sugar
- 2 Cups of water (for simple syrup)
- 1 Gallon of water for the mixture
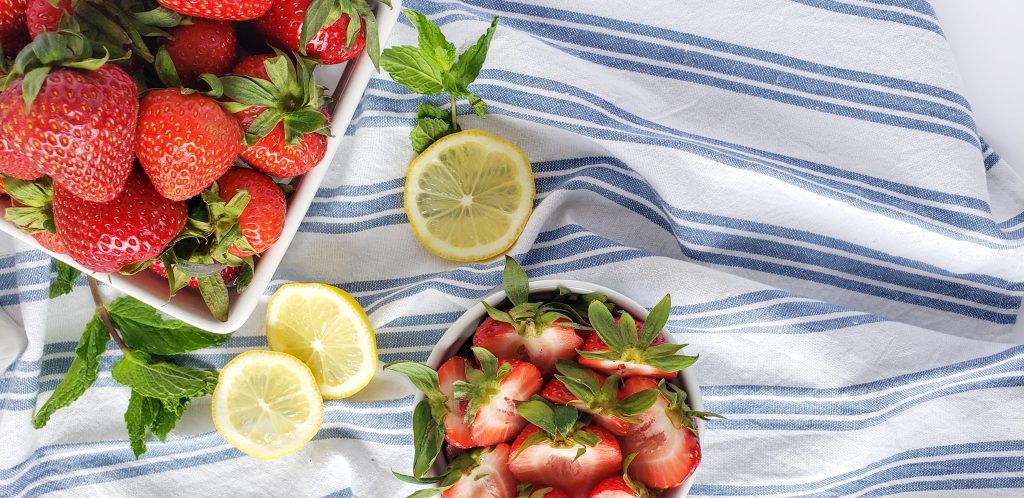
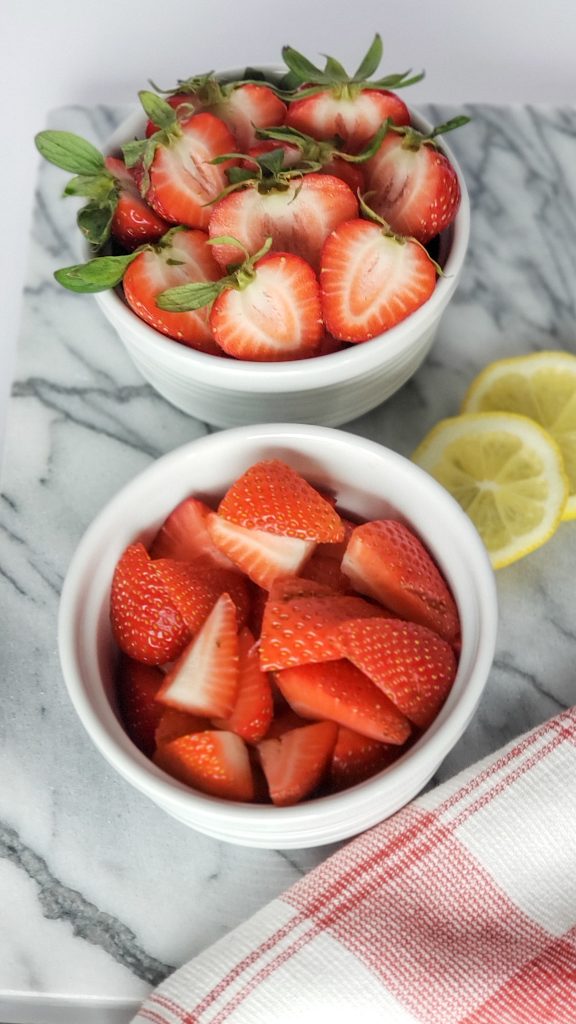
- 1 Cup of chopped strawberries
Directions:
Step 1 – Make your strawberry mixture
Combine your 1 cup of chopped strawberries and 1 cup of water and blend. I love this little mini-prep food processor for this step. Not only is it perfect for quickly getting the strawberries chopped for making this strawberry lemonade recipe quick and easy, but I also find that I use it for everything! I love the convenience of the size and versatility!
Blend until you are left with small strawberry pieces.
Step 2 – Make the simple syrup
In a large saucepan, combine the 1.5 cups of sugar, 1 cup of water and the strawberry mixture. Over medium-low heat, stir the mixture occasionally until all the sugar has dissolved.
Once the sugar has dissolved, remove the pan from heat and set aside while you follow the next steps.
Step 3 – Mix water and lemon juice
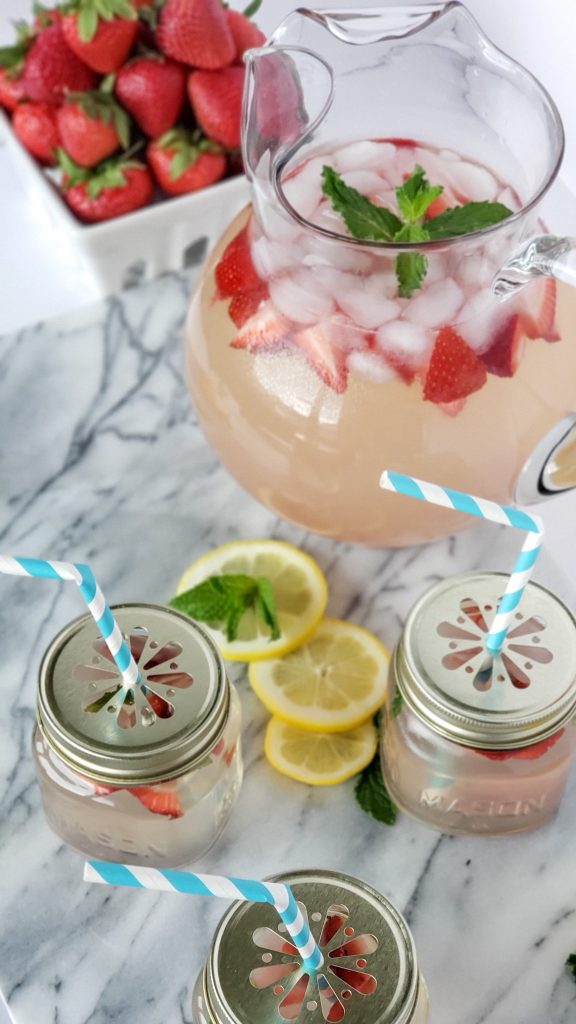
In a LARGE drink pitcher, combine the 2 cups of lemon juice with the 1 Gallon of cold water.
Depending on how big your pitcher is/how big of a batch you are making; it might be helpful to mix the lemonade in a large cooking pot and then once you are done split into various pitchers. That way you end up with a consistent batch of lemonade.
You can freshly squeeze actual lemons….however I don’t have the time for that nor the desire to clean up my kitchen from squirted lemon juice. Especially if kids are helping:)
I love to use this pre-squeezed lemon juice! I get two big bottles from Amazon or from Costco. Or you can find smaller bottles in the fresh fruit section of just about any grocery store. You get the same amazing taste like freshly squeezed lemons, without the mess or time!
Step 4 – Combine simple syrup and lemon mixture
Take the simple syrup mixture you set aside from before and add it to your lemon water mixture. Mix it up.
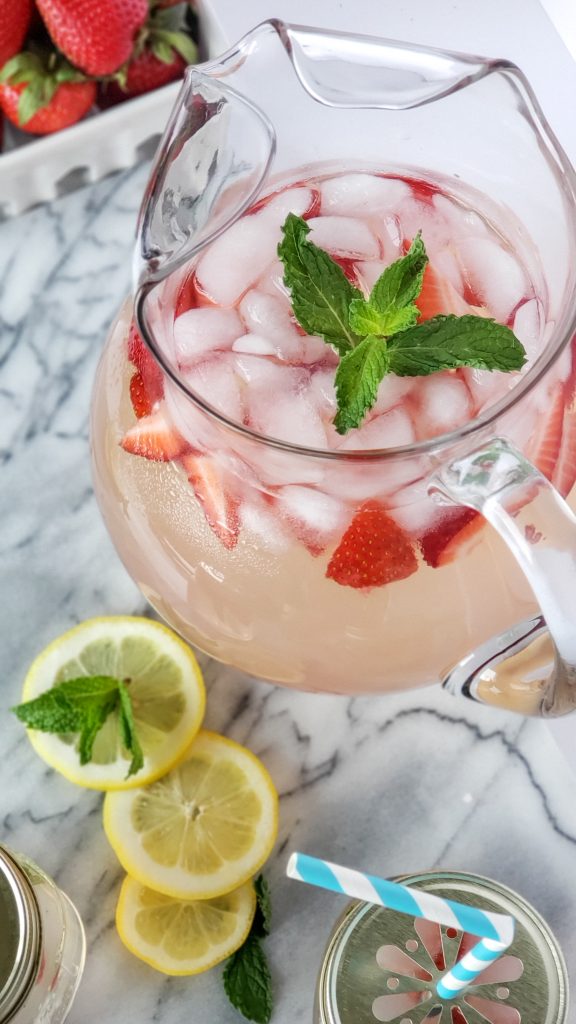
Make sure to leave the strawberry pieces in when you mix everything together. Similar to fruit infused water, the longer the fruit is in, the more the drink will pull flavor from the fruit= the better it tastes!
We like the small strawberry pieces in this lemonade. However, if you don’t, you can easily strain them out. I would wait as long as possible before removing them.
Step 5 – Add mint leaves
This is completely optional. In all honesty, I don’t always follow this step because not always do I have fresh mint 😉 But, I love adding some fresh mint before I chill to add more flavor. Plus the green makes it pretty 😉
Step 6 – Chill
Place the mixture into your drink pitcher and chill in the fridge.
That’s it! A simple tweak from one of our favorite summer time drinks, this is fun and delicious 🙂
So grab some ice, pour yourself a glass and enjoy! Make sure to leave a comment letting us know what you think 🙂 This post was my older two girls idea, and they actually helped write it as well as chose all the photos. So they would love to hear from you 🙂
XO,
Morgan


Comments are closed.