I love
We have been working on creating an under the stairs playhouse for our kids over the last year. Finally, we have reached the point that we are getting to decorate it with them.
Apparently, we aren’t moving fast enough, because I went in the other day to hang up these awesome globe lights, and found that my four-year-old had turned the walls and ceiling into her canvas. There were marker drawings everywhere. She said it was too “boring” in there and so she “decorated” it. So I decided it was time to get something in there for them to draw on and decorate, rather than the walls 🙂
You can buy a chalkboard for around $40+, or keep reading and I’ll tell you how to quickly and easily make it for under $10!
Materials
- 2 ft x 4 ft Triangle hangers (for the
back of the window/frame) - Picture hook hangers
- Level
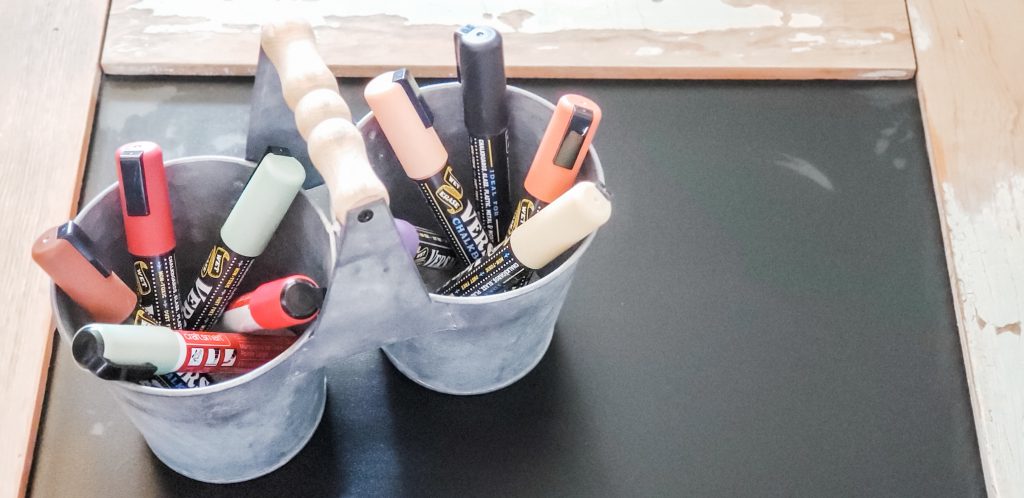
- Chalkboard markers
Making your blackboard
Step 1: Find your frame

Check out your local Facebook garage sale site, thrift stores or craigslist for any old window or frame. Look for something you like the shape and texture of. I happened to have some old windows laying in my garage waiting for the perfect repurpose project, so they were free!
Step 2: Remove the glass or screen

Good thing my handy hubby was nearby when I decided to whip this project out. I was ready to leave the glass in and put the blackboard over it…whoops haha.
Turns out, removing it isn’t so hard to do.
On a flat surface, take your screwdriver and place it carefully between the frame and the small strip of wood that you will notice on one side of the window. There will be four strips. These are what holds the glass/screen in.
Gently pry out these strips doing your best to not break them as you will re-use them!
Step 3: Sand

Using light sandpaper (150 grit), take your sander and lightly sand the entire window. I loved using our orbital sander for this because it made it easy to get all the parts of a window.
Because this was going in our kiddos playhouse, I also slightly rounded out the corners and edges so they weren’t as sharp.
How much you sand is up to your discretion and taste. I wanted to take off enough of the old paint that there wouldn’t be flecks coming off in the playhouse. Even more so, I didn’t want to leave temptation for my kids to sit there picking off the paint.
However, I didn’t want to sand it enough that I removed all the paint. I like the character that the old layers of paint bring
Step 4: Measure the inside of the window

Have you ever heard the saying “measure twice, cut once?” Yup, I follow this every time.
Carefully measure the inside of the window. Go to the nearest 1/16″ of an inch. It is ok if it isn’t all the way to the very edge of the frame. The front lip of the window will hold it in.
Step 5: Cut your black chalkboard to size

Using the measurements you wrote down, cut your board to size.
The easiest way to do this if you don’t have the right tools at home; follow this link to buy the board online from Home Depot. When you get there, it will be waiting for you and if you ask them nicely, they will go back and cut it to size for you!!!!
On this project, I used regular magnetic blackboard that I’m excited to try for my next project! So that’s another option if you want something that is multi-purpose!
Step 6: Re-attach the strips of wood

Place your newly cut chalkboard into the window opening. Using those four strips of wood that you saved from earlier, one by one hammer them back into place.
Because I carefully removed them, I was able to use the same nails to re-attach them.
The first one should be easy to re-attach using the same nails and nail holes as before. For the subsequent strips, I would suggest using a pair of wire cutters to cut off the nail on each end of the strip.
There will be a little finagling in order to get the final three strips in and it will make it so much easier if you have removed those end nails!
Step 7: Attach the triangle hangers on the back

Almost done! Decide which orientation you want to hang your blackboard. Attach these triangle hangers; one on each side making sure to measure so they are the same distance from the top of the window
Step 8: Hang on the wall

Using these picture hangers, it’s time to hang your new blackboard up!
After you have hung it, place the level on top to double check that it is level!
If it isn’t level and is just a little off, slightly hammer down on the top of the window of the side that is highest.
And that’s it! Time to decorate using these liquid chalk markers and hang it up! What do you use blackboards for? Drop a comment below to share your idea!


