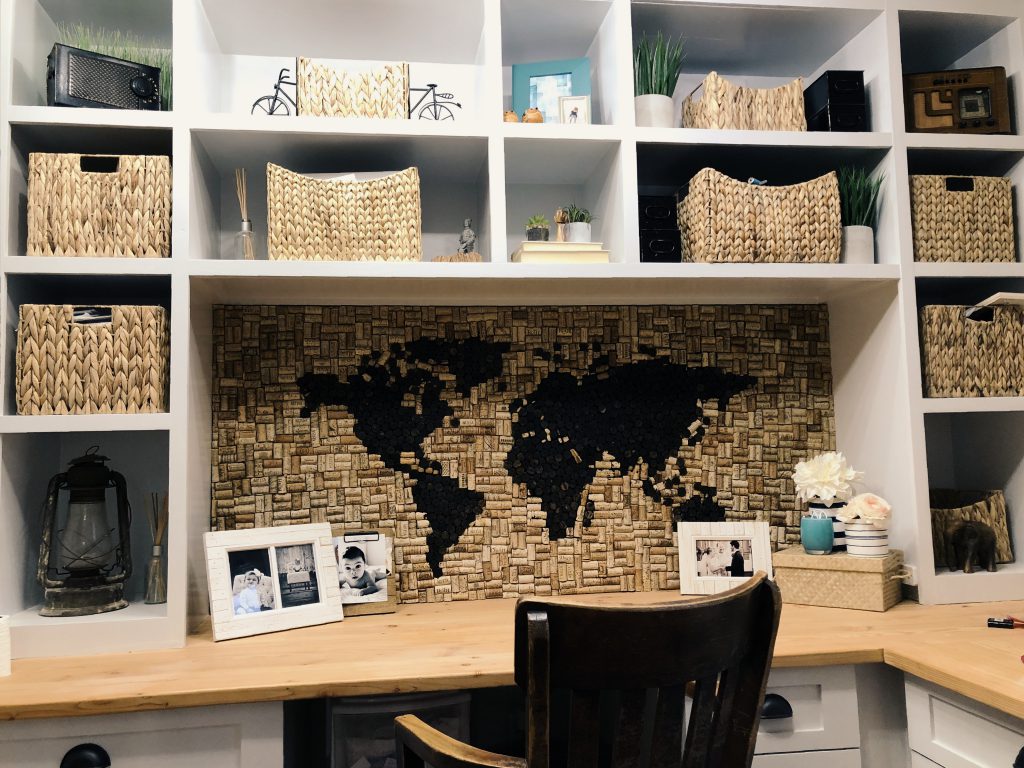
I have always loved browsing through the gorgeous offices found on Pinterest. To be completely honest, opening a drawer on a beautiful custom desk, and having everything neat, is heaven to me.
So when we decided to tackle our mini office renovation, you can bet I was excited! It was finally time to put all those office organizational pins I had saved on my Pinterest board to use! Otherwise, all too quickly, no matter how good our intentions, these fabulous drawers turn into multiple junk drawers! So if your office drawers could use some help….keep reading! I have some tips to share 🙂
First and foremost, it’s time to ‘KonMari’ the crap out of your office drawers. WAIT….I know what you are thinking! So before your click the “X” and move onto to the next blog….hear me out 🙂 For those who are still in the dark on this method, let me catch you up on why it is in your best interest to catch up. If you want my take on why this method works, read more here. But if you are at the point of willing to try anything to regain control over your drawers, then get ready to dive in!

This post contains affiliate links, which means I may earn a small commission if you purchase through them—at no extra cost to you. Your support means the world and helps keep this blog running. I only share products we actually use and love, and I’ve included them here for your convenience. Thank you for supporting our journey!
Step 1 / Empty your drawers
As I mentioned in my KonMari post, the first thing you’ll want to do is empty every drawer onto one space. I chose to empty it on top my desk. This worked well since most office items tend to be on the smaller size. Larger items such as printers, I laid on the floor to allow easy visibility of what I was dealing with. Have you ever heard the saying that it has to get worse before it gets better? Well keep that in mind as you start this process 🙂 Seeing the mounds of items certainly is overwhelming. It may just have you questioning your sanity on why you took my advise to take this project on 🙂 Don’t worry I get it. Trust me a little bit longer and I promise it will pay off!
Step 2 / Sort your piles

Next, you are going to want to sort through that pile and divide it up. Grab a
Step 3 / Organize the keep pile

Now its time to tackle the bag of what you are keeping and need to organize. Just like you did before, separate everything out and organize it
It was a great way to include them in the process. But also helped to separate those that didn’t work and were ready to be tossed. Last thing I wanted to do was spend all this time organizing to later find out that it didn’t work.

Step 4 / Drawer layout
Once you have everything divided, take a look at what you have and decide how you want it organized. My office cabinets are two or three drawers per cabinet. I chose to use the top drawers for the smaller and most often used items. This is what I started working on organizing first.
Once again take your items and re-group them into what you want to be stored in drawers together. As soon as you decide, you will know what kind of organizers you will need in order to fit everything. This is where is helps to have previously sorted what you want to pair together.
Step 5 / Using boxes to organize
I found these boxes that I love. We spent so much time building these cabinets and painting them. So I wanted to go with wood dividers rather than plastic. Following the KonMari method, use any selection of boxes to divide up the drawer into adequate areas to store your items. Since with drawers you are viewing from above, it isn’t as important that they are clear. However, steer away from anything with a lid! It just adds one extra step and one more thing to forget what was even in there 🙂

This is where it becomes a little bit of a puzzle. I chose to buy a variety of sizes of boxes. Because that way I could play around with the layout of each drawer.
I ended up needing to make a few tweaks after. I also ended up moving some items to other drawers after working on the layout. For me that was worth it because the goal is that when you open your desk drawers, you can easily see and access all the items.
I’m sure that I will make more changes as time goes on and I use the drawers. That’s a benefit of using boxes that can be easily moved and re-arranged! But for now I’m really excited about the progress!
What suggestions do you have for office drawer organization?
XO,
Morgan


