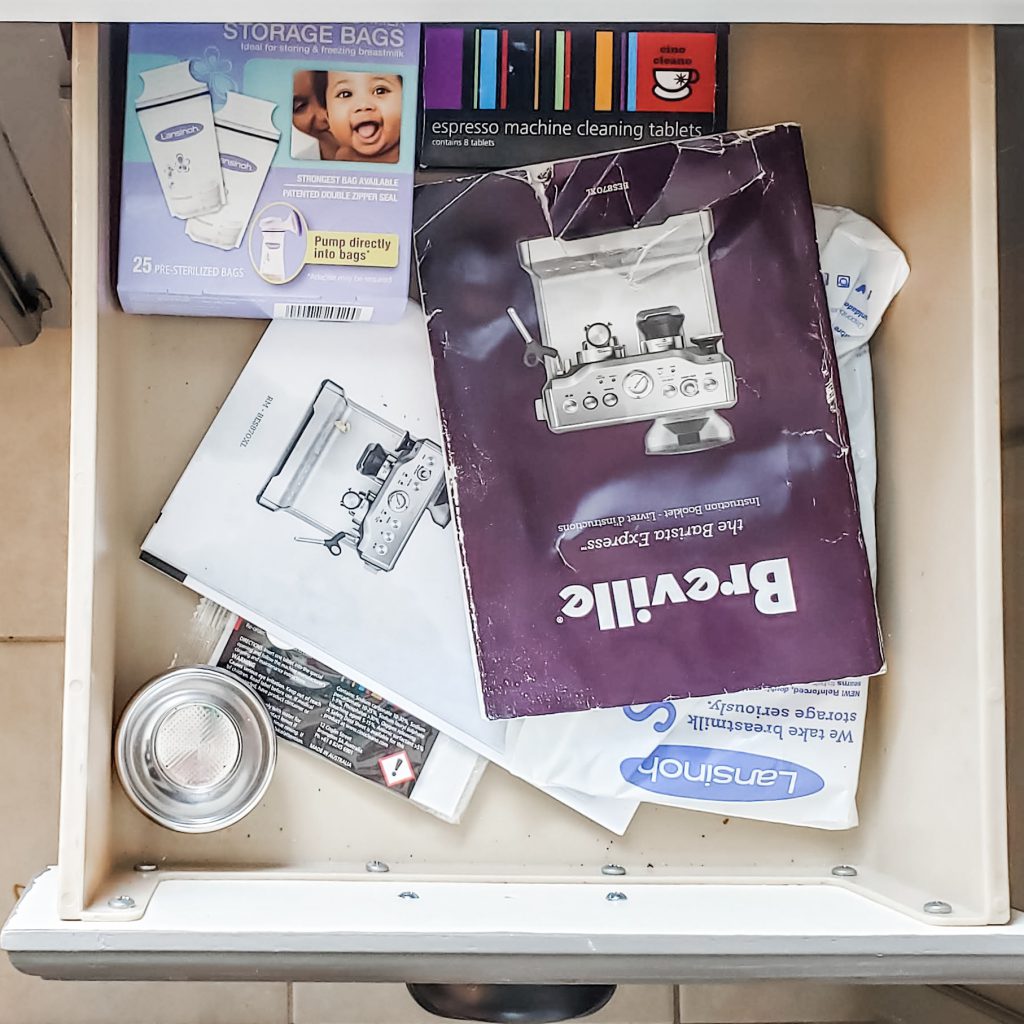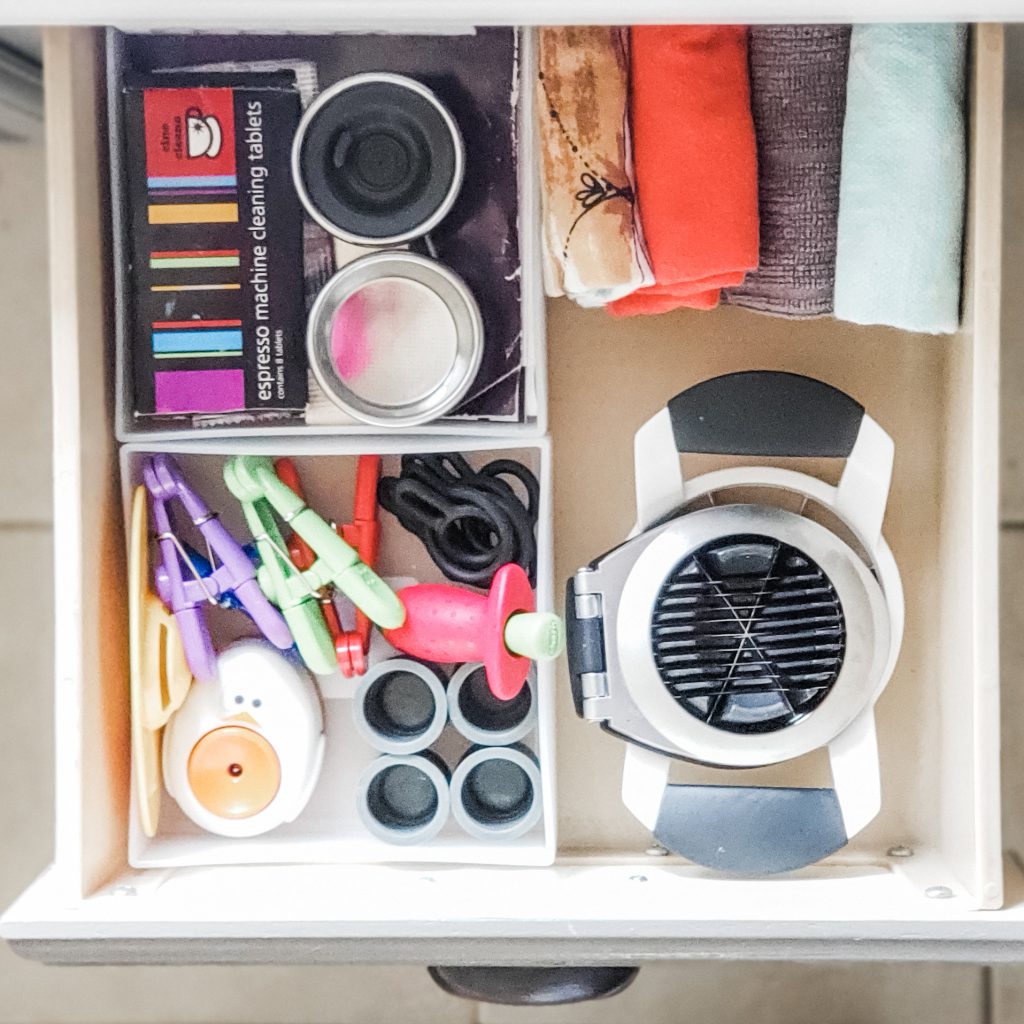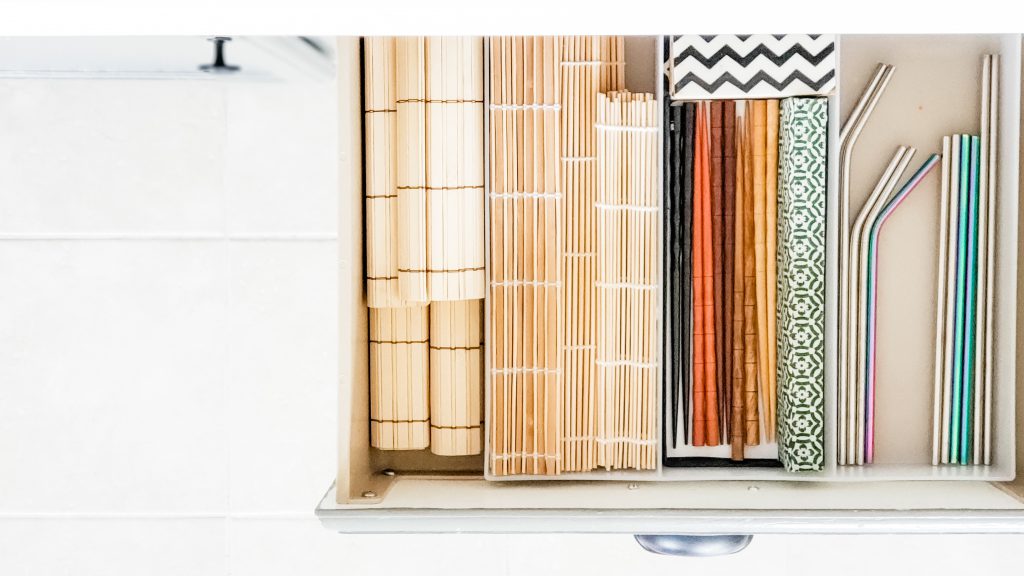
It’s officially Spring which for whatever reason, is the time of year that sets me into overdrive with spring cleaning and organizing. Am I the only one? Although being perfectly honest, I prefer the organizational part;)
The sense of calm that can be felt when
With the kitchen being the area that we spend the most time in, I’ve decided it’s time to tackle it and get to a point where it is easy to find items and is more functional. After all, it seems as if it’s always when I’m trying to make food that my kids start to bicker and need me:) Then, of course, that same time is when I’m trying to dig through the drawer for the can opener;)
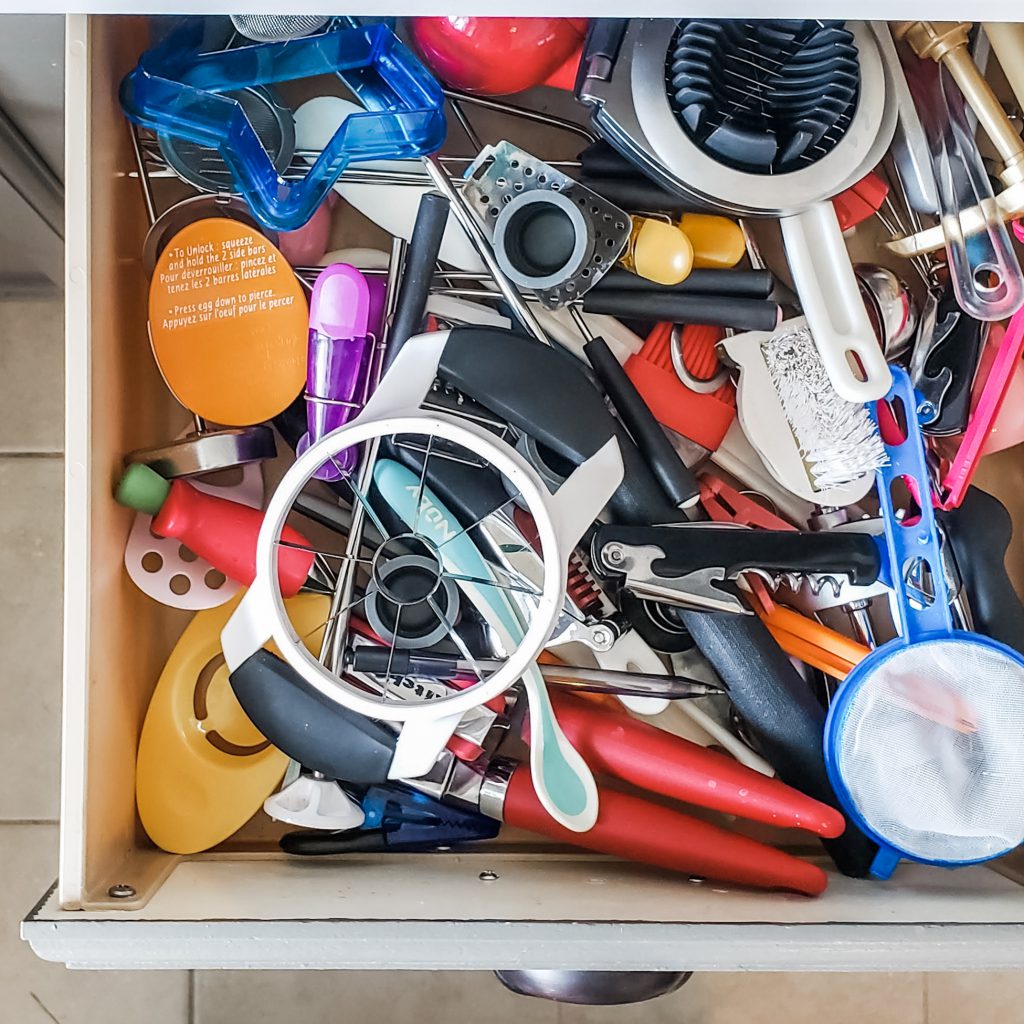
Before! Yikes! 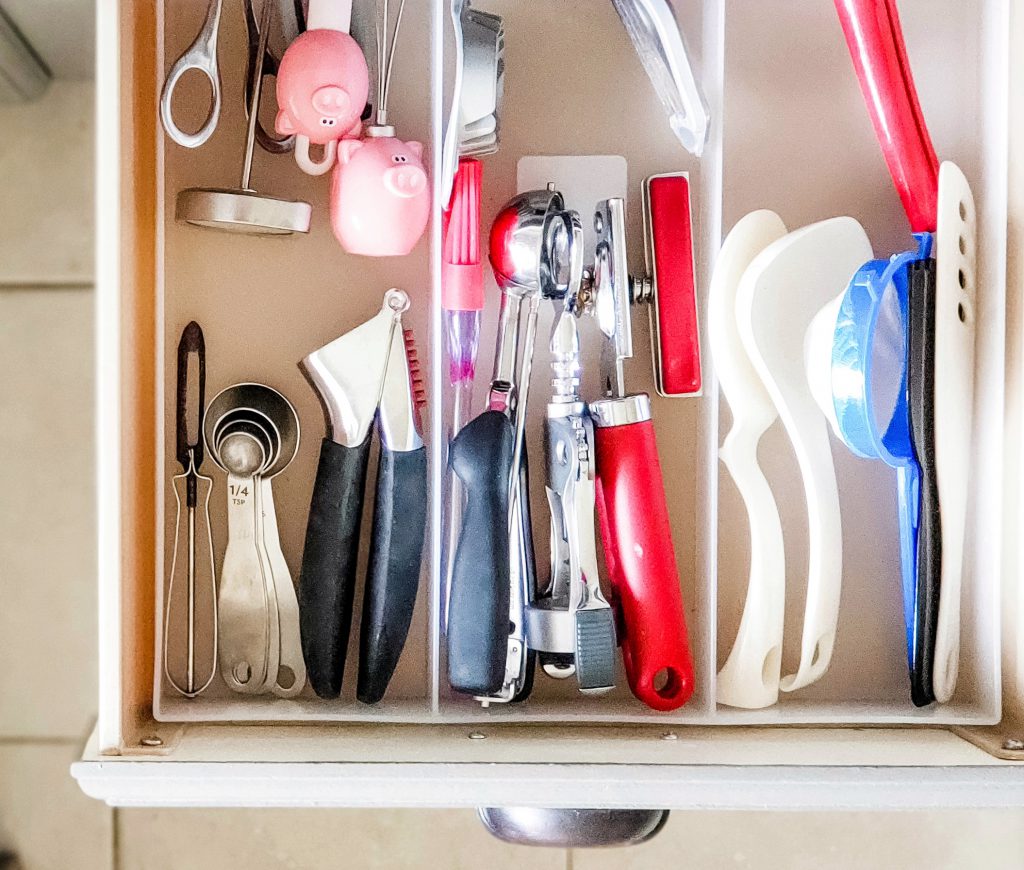
After: Can you see why I needed to do something about this?
If this is you too, or your kitchen could simply use a little more organizarion, keep reading to see how to make it a more functional space in just three easy steps!
As a blogger, I may earn a small commission for any purchases made through the affiliate links on this site. I want to make it clear that your support means a lot to me and helps keep this blog running. Please note that using these links will not add any extra cost to your purchase. I have included them for your convenience, and I appreciate your support in using them.
#1: The KonMari Method
Step 1: Empty everything
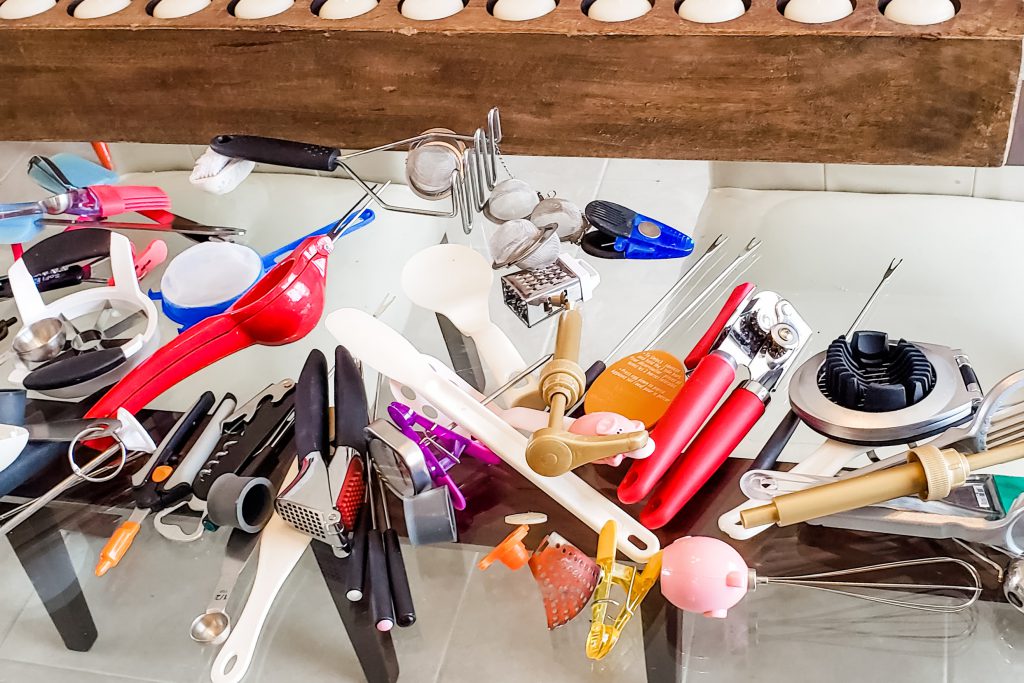
As hard as it may be to see the massive piles after emptying your drawers and cupboards, this step allows you to see exactly what you have. And just how much you may have 🙂
When I say everything, I mean everything. Even down to your junk drawer! Fun, yeah, maybe not 😉 Will it be worth it, absolutely! So stick with me;)
I chose to pull everything out onto my counters, letting the overflow go to the floor. I kept my kitchen table clear since that was
Step 2: Find your like items
Begin by sorting what you have pulled out into like items. All your utensils together, tupperware, mixing bowls, kitchen gadgets
This is where all that kitchen counter space will come in handy. Make sure to spread it out enough that you can see what you have and separate easily.
Once you have sorted based on like items, take it one step further and sort based on use. This is important because it will help you when you get to actually putting items away so that your most used items are in the areas easiest to get to. While your serving platters that are used less frequently, may be somewhere less accessible.
Sort it all based on these categories:
- Everyday use (be honest here)
- Used in the last six months (for example, bakeware or special platters)
- Haven’t used in a year
- Not actually a kitchen thing (anyone else culprit to this one?!?! Hello junk drawer!)
Step 3: Pair it down
With everything now grouped by like items and easy to see, it’s time to address what you have accumulated over the years. The more you can pair down, the more relaxing and functional you will be able to make your kitchen.
In order to do this most effectively, you are going to want to grab two boxes. One for discarding, and one for donation.
Now begins the hard part; actually
Step 4: Sort by like size
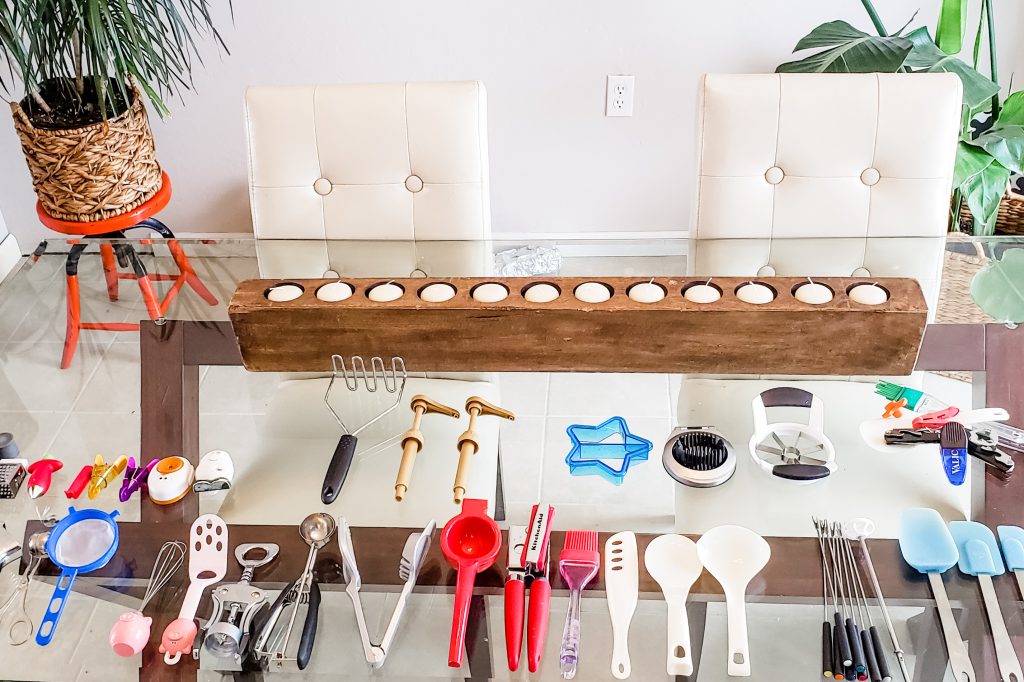
At this point, you should be left with the items you use and are keeping, grouped by like items. Within these individual groups, it’s time to take it a little further and sort by size.
This will make it easy to find items when you look in the drawer. It also will allow you, and other members of your family to know where to put it back in the right spot; allowing you to maintain the organization. Because you are organizing based on size right now, it’s a simple enough idea, that even my four-year old can follow this method when she is unloading the dishwasher.
#2: Assign a place for everything
This is where you need to take a look at the space you have to work with and think about how you want to utilize it.
Maybe you already have the perfect kitchen and this part is fairly simple;)
If you are like me, I have a great space, but we haven’t done much work on our kitchen yet to make it Pinterest worthy, and so this part takes a little creativity 😉
Where do you use it?
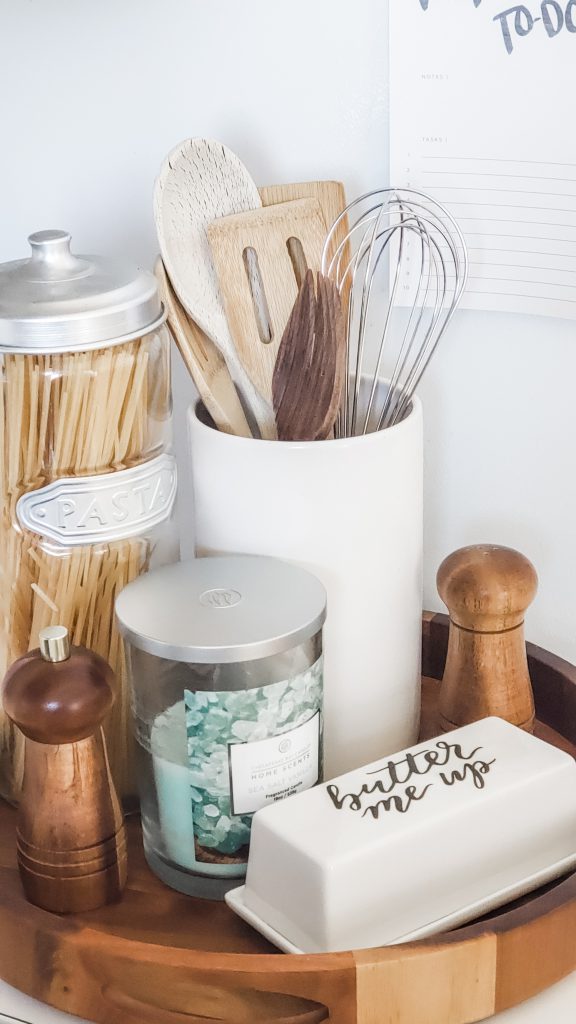
Think about where you use most items; they should be stored close by. For example, I use all my wooden stirring spoons and whisks either on the stove or on the counter nearby. I wanted easy access to those without having to open a drawer. So I chose an open container right next to the stove to store these.
If you have a small counter between your fridge and stove, this is a great location for a tray. A tray is a great way to organize a few of those commonly used items with quick and easy access!
I have a drawer solely for my Ziploc baggies, Glad Press N’ Seal, and parchment paper. Normally I need these after I have made something and I’m needing to store it. Rather than have these items in “prime kitchen space,” next to the sink, stove, and dishwasher; I moved them to the counter I don’t use for cooking. This means when I go to use them, I will always have a clean counter space right above to use and then immediately return the item to its home when I’m done. This will help you to have less clean up at the end!
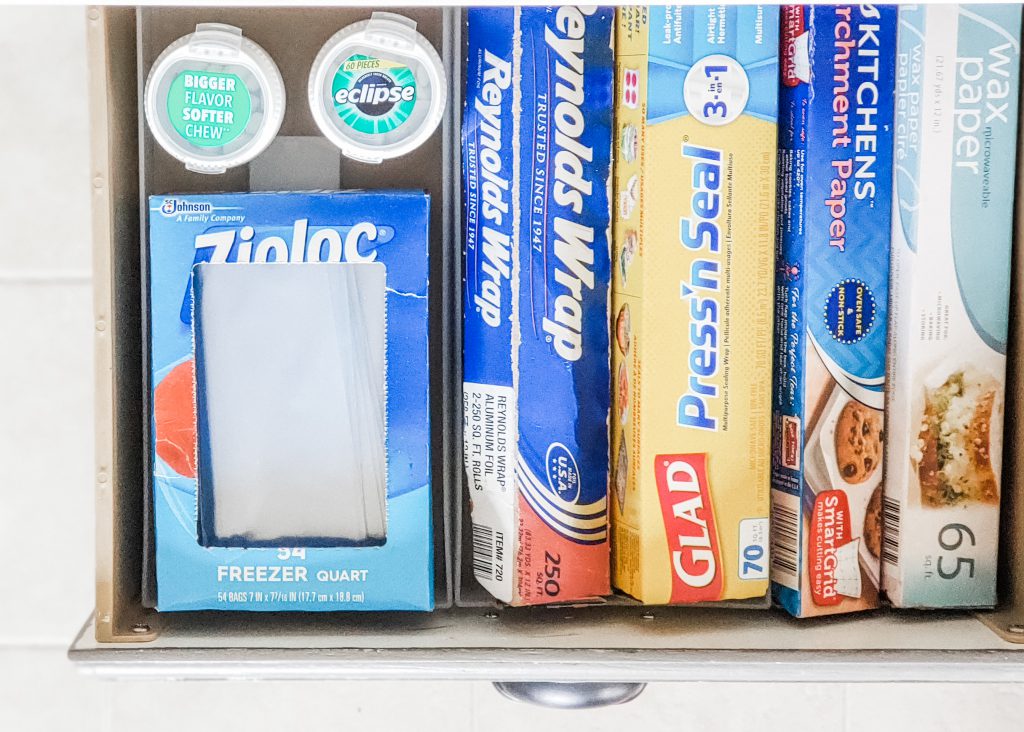
So think about the space yoy have to work with and where you tend to use items? What will create the best flow with the least amount of moving around to grab items within a single recipe?
#3: Measure and shop
You’ve made it to the fun part! Now that you have items grouped, and have an idea where you want to use them, take some measurements and see what size and kind of container you need in that space.
These are a few examples of what I have done so far…..
Counter top organization
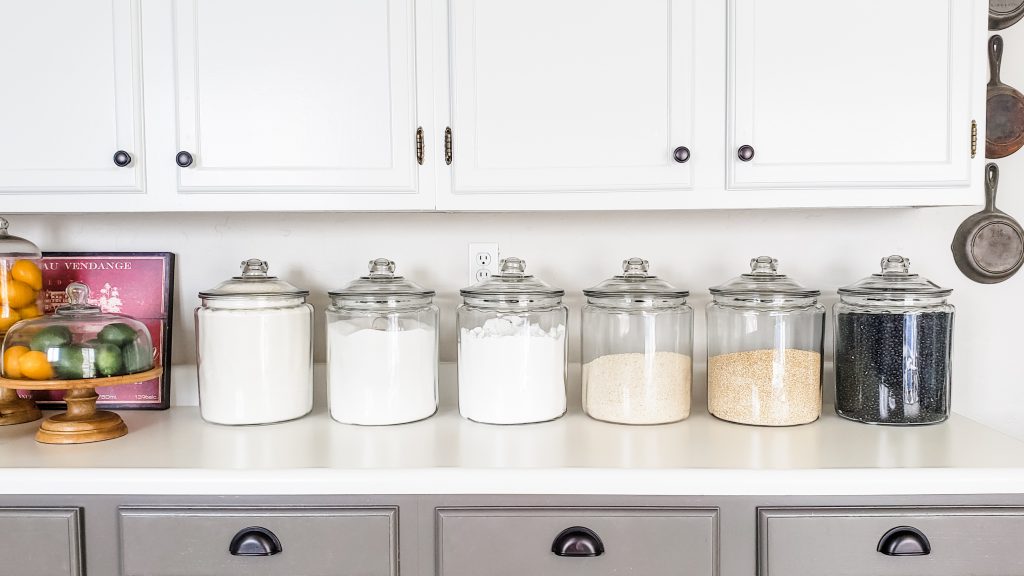
I wanted items that I tend to buy in bulk quantity to fit in one jar rather than filling a small container and having to store the rest of the bag somewhere. At this point, I have no pantry space upstairs, so this was a practical yet attractive solution.
I love these large glass jars! They are easy to clean, hold a lot and allow easy access 🙂
Cabinet organization
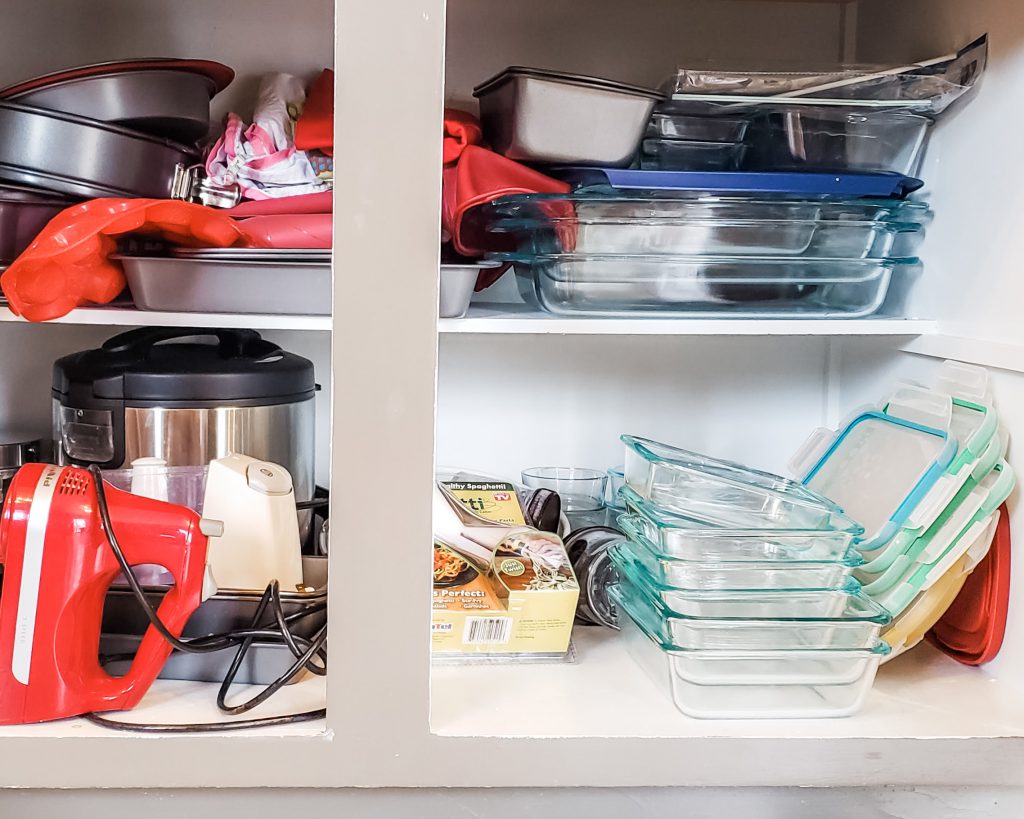
Before with a 1/2 shelf 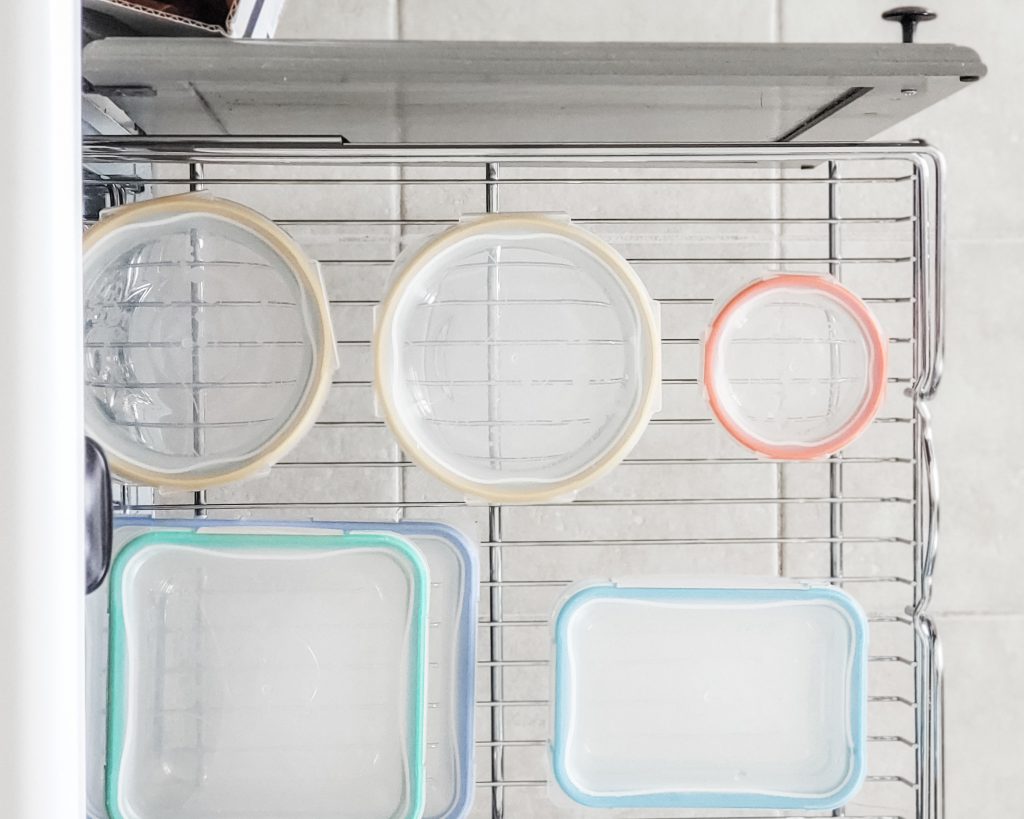
After: two tiered pull out shelf!
One day, we will eventually re-do our kitchen and make custom cabinets with lots and lots of drawers;) In the meantime, our bottom cabinets are all a single shelf with a door. Not pactical to find anything and not easy to pull out or put away.
We found this great solution for a quick and easy update to organize our bottom cabinets using these, and I have to say I LOVE them!!!
They were the perfect solution because they come in a variety of sizes and styles. Think single drawer pull out, double (top + bottom), corner cabinet and various widths.
What I love about these is that if you can pull out a drawer, it is easy to both access and put items away. Enough so that my kids actually put things away where they go rather than stuffing 🙂 Worth every penny!
Drawer organization
For drawer organization, I really like these drawer cubes. They can be configured in a variety of ways. Because they come in a variety of sizes and shapes, it makes it easy to organize any drawer regardless of drawer size.
Plus, as a bonus, I can pretty much
I hope these tips help! What other organizational tips do you use and find useful in your kitchen? Would love to see!
XO,
Morgan


